Tea Bag Painting: Steps for Layered Color and Drying
Tea Bag Painting: Steps for Layered Color and Drying. Make a small tea bag painting by testing color, controlling moisture, layering marks, and drying the paper
Quick Answer: For a controlled tea bag painting, brew three tea bags to different strengths, let them cool, and place each in a plain saucer. Test every bag on scrap paper. Blot until it is damp rather than dripping, then build a composition with light presses, short drags, corners, and overlapping marks. Let the sheet dry flat between layers so you can see the true value and prevent the fibers from becoming overworked. Stop when the paper surface begins to pill, buckle sharply, or shed. Dry the final study fully before storing it away from food preparation.
Tea-bag painting materials and surface facts
- Materials and tools
- Use cooled brewed tea bags reserved for craft work, absorbent test paper, a tray, and clean water.
- Method variable
- Tea type, brew strength, paper sizing, pressure, and drying all change the visible stain.
- Step rule
- Test on a scrap, blot excess liquid, and build pale layers rather than flooding the sheet.
- Safety
- Protect the table, supervise young children, and discard torn or moldy bags.
- Durability boundary
- Tea stains can change over time; this is an experimental craft, not an archival permanence claim.
Prepare a dry station and three test strengths
# Tea Bag Painting: Steps for Layered Color and Drying Tea bag painting turns a familiar brewed object into a soft, unpredictable mark-making tool. The bag can press a block, drag a broken line, release a pale wash, or leave a darker rim where liquid gathers. The interesting part is not forcing tea to behave like bottled paint. It is learning how moisture, paper, pressure, and drying reshape a limited range of browns, reds, and golds. This is a small experimental paper craft. Use cooled tea, protect the table, and keep food and art supplies separate once the session begins. Tea stains may fade, darken, migrate, or react with paper over time, so do not describe the finished sheet as archival or permanent without material testing.
Cover the work surface with a washable mat or shallow tray. Add heavy paper, scrap strips, three plain saucers, a cup of clean water, absorbent cloth, and cooled tea bags. Keep phones, books, fabrics, and finished artwork outside the splash area. If children participate, an adult should handle hot water and supervise the small wet bags and strings.
Brew one bag briefly, one to a medium strength, and one longer, following ordinary safe handling for the tea and container. The goal is not an exact recipe; different ingredients release color at different rates. Let every bag and liquid cool before art use. Once a bag touches craft surfaces, do not return it to a drink.
Choose paper by testing, not by its marketing name alone. Make one press and one drag on a scrap, then let it dry. Thin copy paper may buckle or tear. Very hard-sized paper may resist the stain. A heavier watercolor or mixed-media sheet often tolerates more moisture, but each brand behaves differently.
The Smithsonian activity book includes a supervised sensory activity in which cooled wet tea bags are moved across paper and different teas create a range of colors. That simple exploration supports the test-first approach here; this page adds moisture control, layering, and drying steps for a more deliberate paper study.
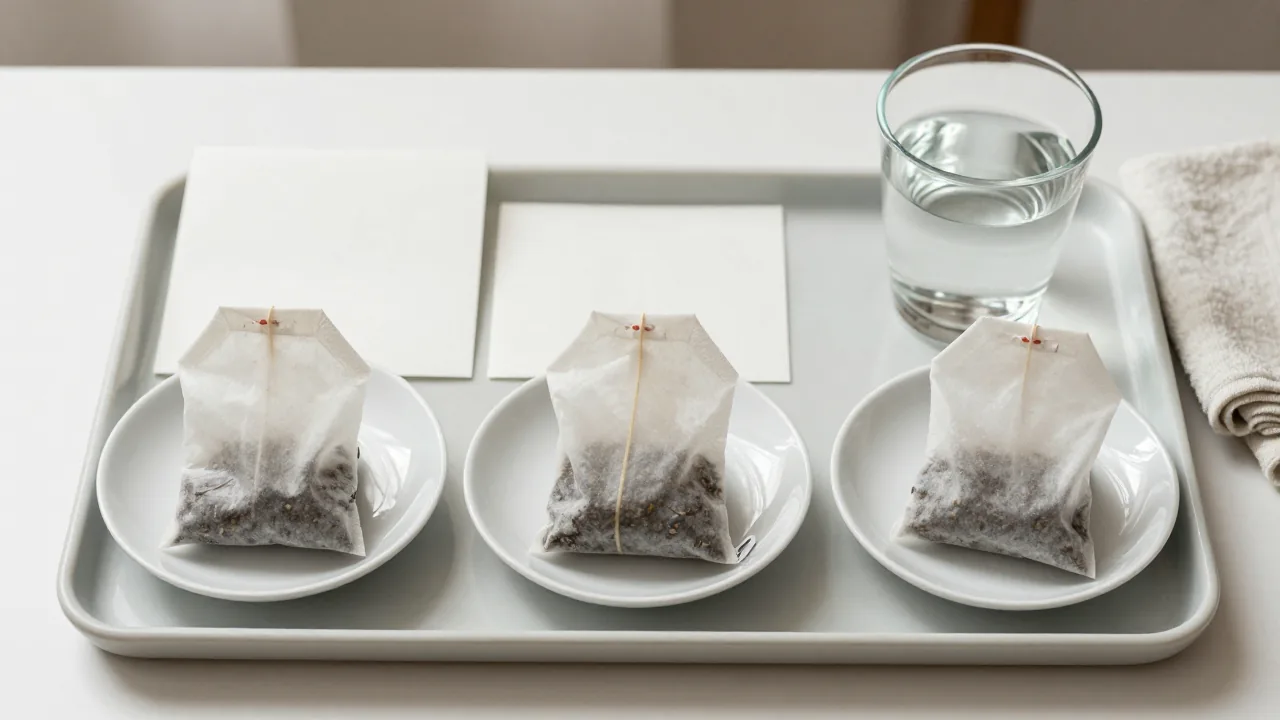
Make a swatch row before composing
Blot the first bag once and press it on the scrap for one second. Press again without rewetting. The second mark shows how quickly the tool loses liquid. Repeat with an edge, a corner, a short drag, and a gentle twist. Labeling can wait until the paper is dry; keep written notes on a separate sheet so they do not become accidental marks in the artwork.
Compare the three strengths only after drying. A wet mark usually appears darker and more saturated than its final state. Some teas produce a strong first print and weak repeats. Others release color gradually. Herbal blends can contain petals, oils, spices, or fruit particles that change the mark and may leave residue. Treat those results as specific to the tested bag.
If a bag splits, stop using it as a stamp. Loose leaves can be incorporated intentionally into a temporary craft, but they create a different surface and storage problem. For a clean paper study, lift them with a spoon after the sheet dries rather than rubbing wet fibers.
Build marks with presses, drags, and edges
Start with the palest bag. Place three or four broad presses with open space between them. Rotate the bag to vary the silhouette, but keep the pressure light. A hard squeeze releases a pool that is difficult to control and may weaken the paper.
Use the folded edge for narrow marks and the corner for small accents. A short drag creates a broken textured band; a longer drag deposits more liquid at the beginning and can abrade the surface. If the bag has a string and tag, hold them away from the sheet so they do not trail through the composition.
Build a recognizable rhythm rather than covering every white area. You might arrange pale blocks as a loose branch, overlap circles around an empty center, or alternate broad and narrow marks. The subject can remain abstract. The tea bag’s geometry and stain behavior provide enough visual structure without drawing fake leaves or adding decorative writing.
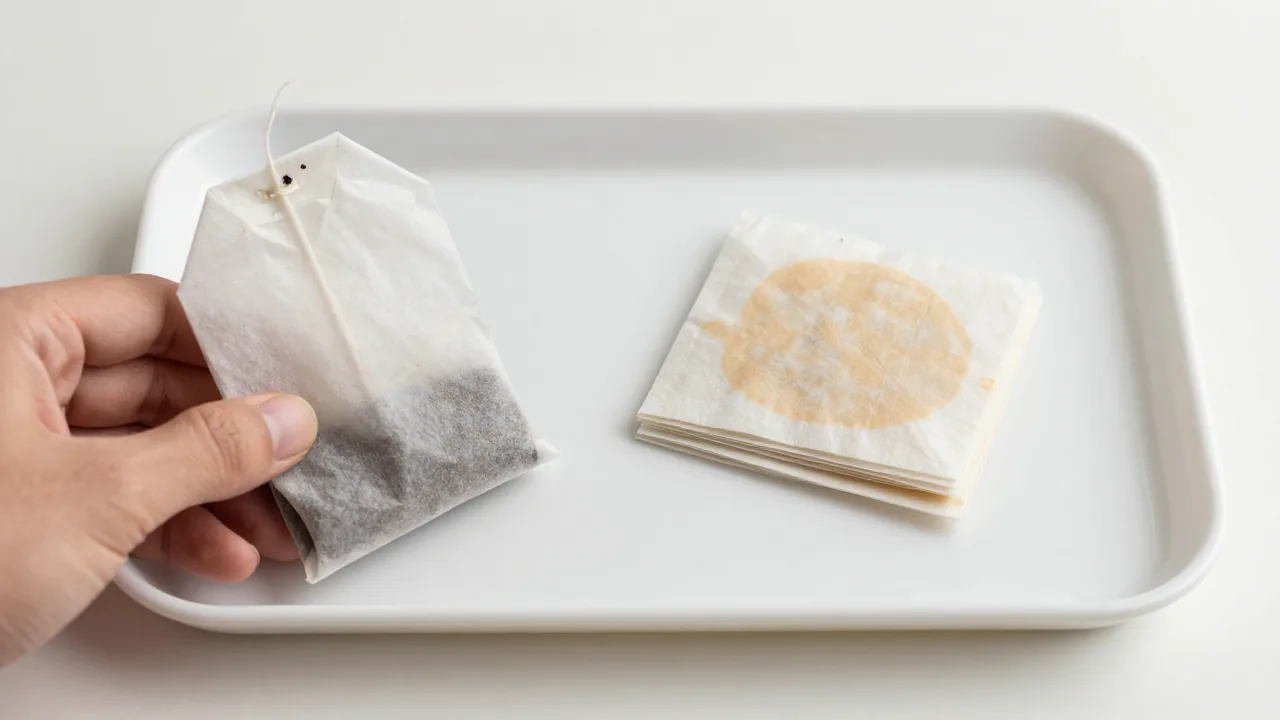
Pause when the paper becomes glossy
A glossy wet patch signals more liquid than the fibers can absorb immediately. Put the bag back in its saucer and touch the edge of the puddle with a clean cloth or dry scrap. Do not scrub. Let capillary movement settle before deciding whether the mark needs correction.
Buckling is not automatically failure, but a rising ridge can redirect later washes. Rotate the sheet instead of pressing the ridge flat with a wet hand. If the paper pills, becomes translucent, or tears, stop that layer. Continuing usually enlarges the damage.
Keep the wet work horizontal. Tilting creates runs that may be useful in a planned wash but undermine a stamped pattern. If you want a run, make it deliberately on a separate study: add one damp press near the top and lift the board slightly while watching the path.
Let one layer dry before judging contrast
Move the sheet to a clean flat rack or board where air can reach it. Do not use direct high heat, a kitchen oven, or a surface used for food. A fan at a distance can improve air movement, but strong airflow may lift light paper or bring dust onto wet areas.
Wait until the sheet feels dry and returns near room temperature. Compare the result with the swatches. Decide whether the next layer needs a darker bag, repeated pressure, a sharper edge, or simply more empty space. Drying is part of the color decision, not downtime between “real” steps.
For related material questions, the [tea bag paper guide](/guide/tea-bag-paper-material-guide/) explains why bags differ in fiber and construction. If you are deciding what to do with a paper bag after ordinary brewing, compare the boundaries in the [disposable paper tea bags guide](/guide/disposable-paper-tea-bags/) rather than assuming every bag has the same disposal route.
Add a second layer without tracing the first
Use the medium or dark bag to connect selected areas. Offset a second press so both layers remain visible. Add an edge beside a pale block, place a darker center inside one form, or bridge two marks with a short drag. Avoid outlining every shape; identical borders can flatten the natural variation that makes the material interesting.
If the darker tea overwhelms the page, dilute the bag briefly in clean water, blot, and test again. Water does not erase a dried stain, but it can lower the concentration of the next mark. Never spray household cleaner, bleach, fragrance, or fixative into a casual craft session.
Turn the paper 180 degrees and inspect the balance. Look for one area that is much wetter, darker, or more crowded. The solution may be to stop rather than add a matching stain on the opposite side. Asymmetry can preserve the movement of the process.
Dry flat, then decide whether to add another layer
After the final pass, leave the sheet undisturbed until completely dry. Photograph it in even daylight for a record of its initial color. Note the tea type, approximate brew strength, paper, and date on a separate storage sleeve or in a digital file, not across the image unless writing is part of the artwork.
Do not stack damp studies. Residual moisture encourages transfer and may support mold. Discard any bag that smells off, shows growth, or has been left wet for an uncertain period. Clean the tray and saucers as craft equipment, and wash hands after handling stained materials.
If you plan to frame or preserve the piece, ask a paper conservator or knowledgeable framer about the actual paper, stain, mounting, light exposure, and glazing. Tea-derived color is an experimental medium. Display choices cannot turn an untested organic stain into a guaranteed permanent pigment.
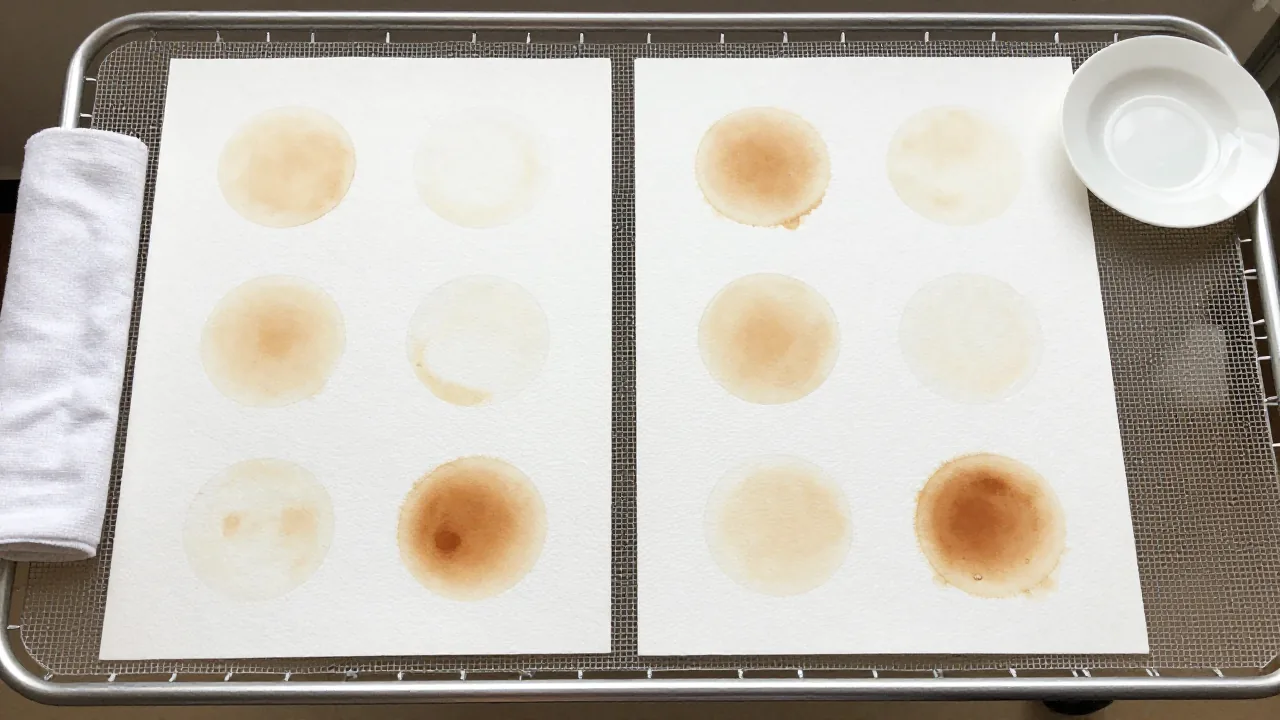
Layer, lift, and dry
- Prepare: Cool the bags, protect the table, separate craft and food use
- Test: Press, edge, drag, and dry swatches for each tea
- Start: Use the palest damp bag and leave open paper
- Control: Blot drips and stop when fibers look glossy or weak
- Layer: Let the first pass dry, then offset selected darker marks
- Finish: Dry flat, document materials, and store only when fully dry
Questions about painting with tea bags
Which tea makes the darkest painting?
There is no universal winner. Tea ingredients, brew strength, water, paper, pressure, and drying all affect the result. Make dried swatches from the bags you actually have.
Can I paint with a hot tea bag?
No heat is needed for mark making. Let the tea bag cool before handling, especially in activities involving children. An adult should manage brewing and setup.
Why did my tea bag tear the paper?
The bag or paper may have been too wet, the drag too long, or the surface too weak after repeated passes. Blot more, press instead of scrubbing, and let layers dry.
Will tea bag art keep its original color?
Do not assume it will. Organic stains and paper can change with light, humidity, materials, and time. Treat this as experimental craft unless the specific materials have been tested.
Can I reuse the painted tea bag for a drink?
No. Once it enters the craft area or touches paper, trays, hands, or other supplies, keep it out of food and beverages.